
Showing posts with label monster. Show all posts
Showing posts with label monster. Show all posts
Wednesday, May 1, 2024
Oil change @ 31k
It’s been a while since this blog has been updated.
Monster has had a couple of friends joining it in the garage, so over the last year only put around a 1000 miles on it. It's ready for its next oil change, including brake and clutch fluid and replaceing some crush washers in the oil cooler. Otherwise still running great - plan to put a few more miles on it this season.


Sunday, June 26, 2022
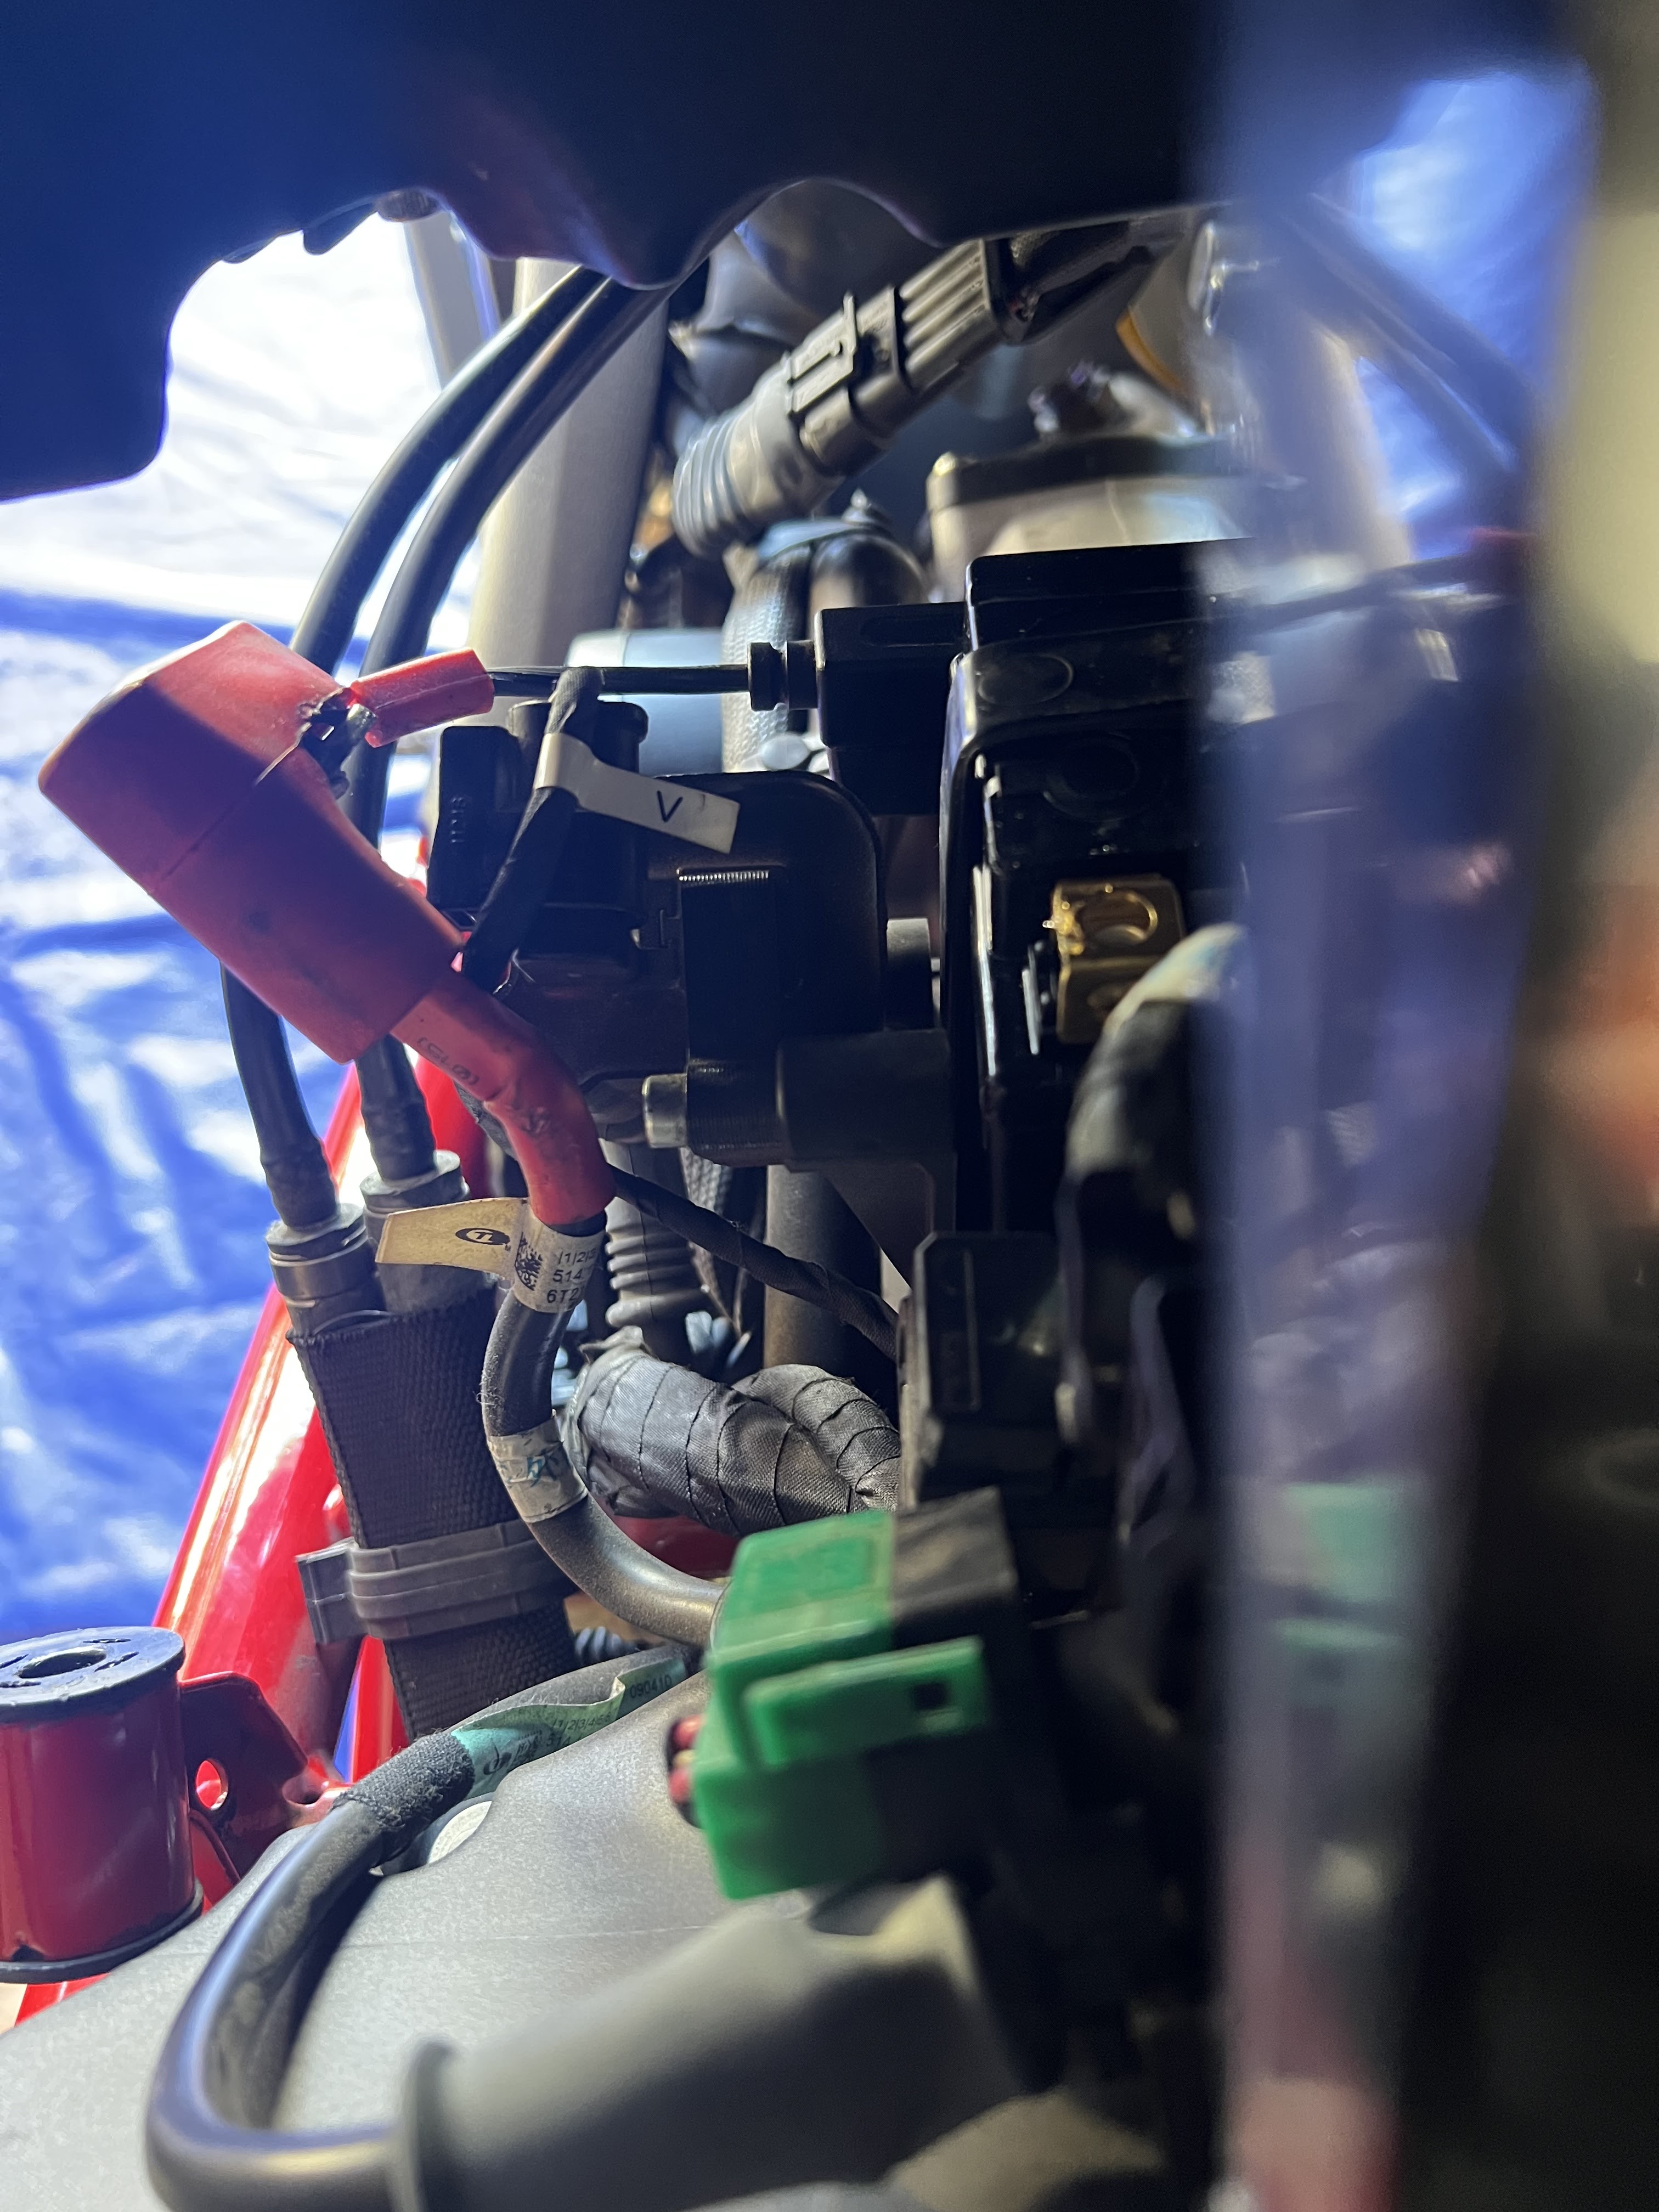
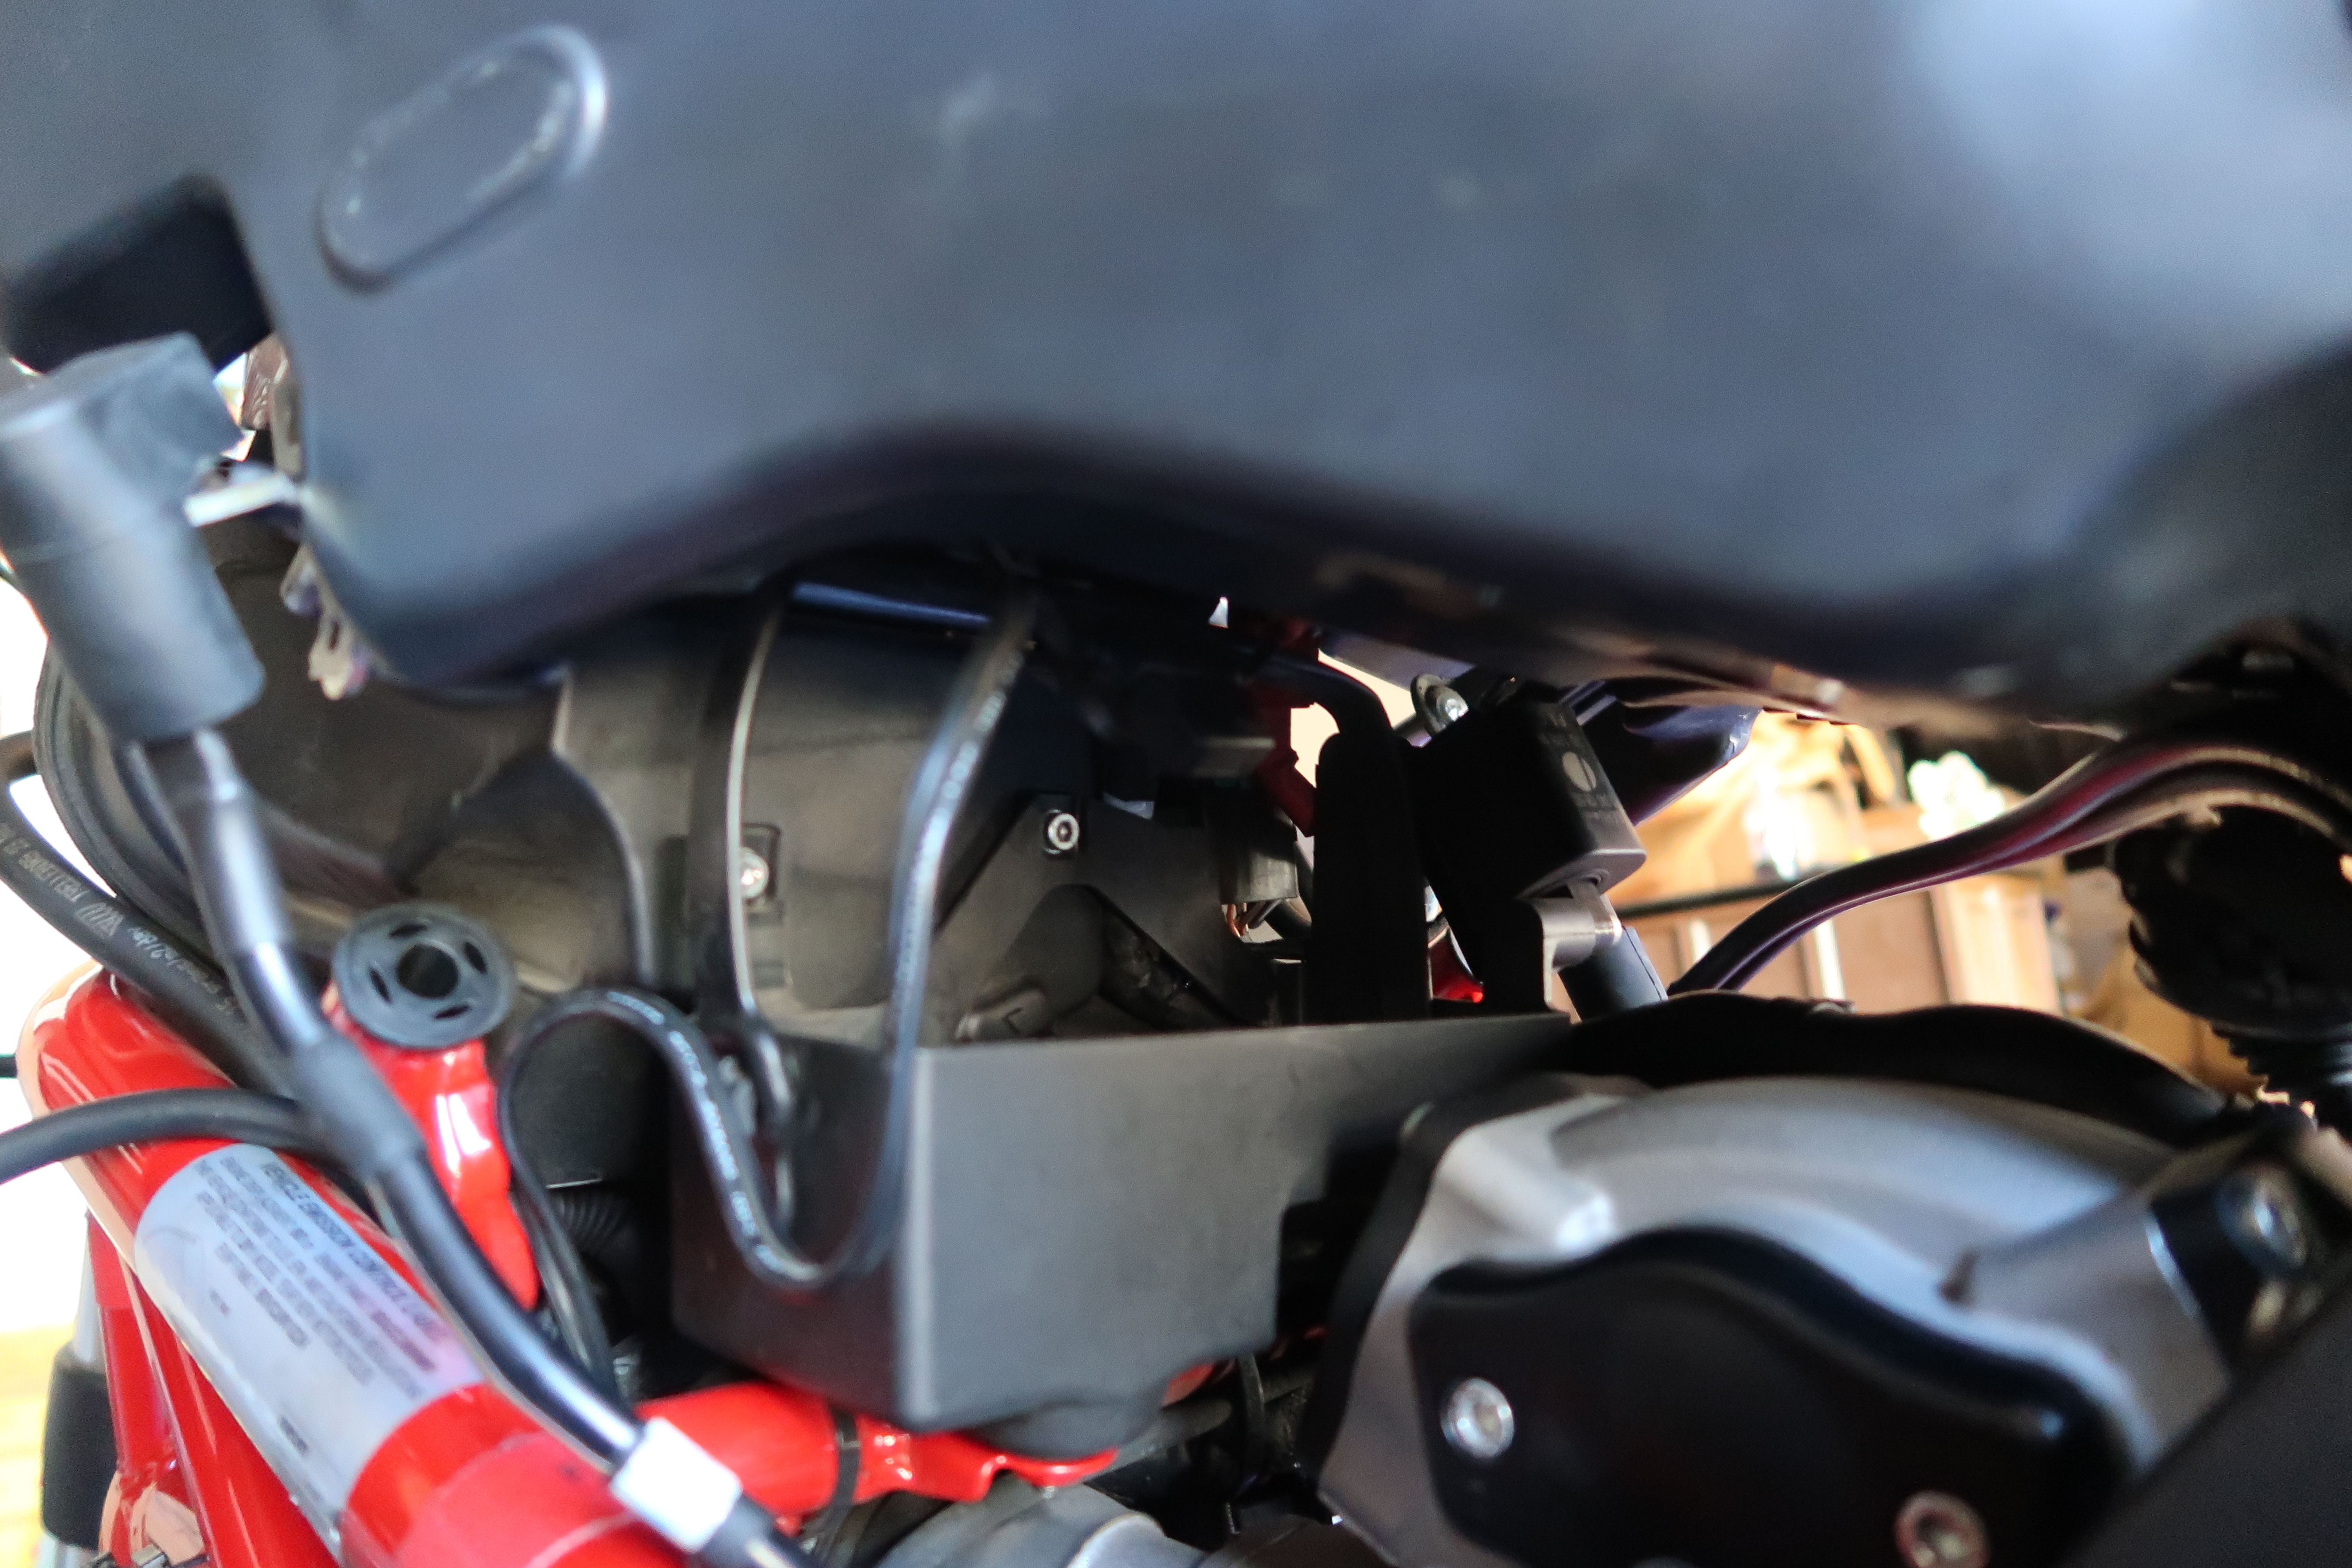
Battery installed
Installed a new battery Yuasa ($145), which is the OEM brand. This is my third battery since buying the bike. First time taking a stab at installing it. As others that own this model have said, it is a pain to install, although not horribly bad.
Hopefully I got everything put back correctly. 😊




Friday, September 30, 2011
Pirelli Rosso II
My OEM tires finally reached the end of their lives- at 6927 miles. They did their job well and lasted, I think, longer than most sport oriented rubber but were at a point where they had a nice flat spot (thanks to some long rides on straight roads) and the wear bars were almost gone.
I wanted to stay with the Pirelli's since they have always performed well for me. So after reading some reviews and hearing good things about the Rosso II, I decided to go with them. I put about 50 miles or so on them today. They feel very planted, seem to warm up quickly and ride well - but I am also taking it super easy given the break in time of the new tire. Will update when I have a few more miles on them.
They look like any other tire, but here are some pics.


I wanted to stay with the Pirelli's since they have always performed well for me. So after reading some reviews and hearing good things about the Rosso II, I decided to go with them. I put about 50 miles or so on them today. They feel very planted, seem to warm up quickly and ride well - but I am also taking it super easy given the break in time of the new tire. Will update when I have a few more miles on them.
They look like any other tire, but here are some pics.


Saturday, September 18, 2010


Friday, September 17, 2010
Tail chop and new blinkers
So I finally got my tail chop kit after waiting for about two months. Super excited to get it on, so decided to be adventurous and try to install it myself. It was not super hard, but pretty tedious and time consuming- definitely some lessons learned in Italian engineering and design.
Also as I was installing the fender kit, I realize that the stock signals will not fit on the short tail given the fact that I installed the passenger bars a few weeks ago. So this meant going and getting new smaller signals - I was going to change those out anyway, but this just made it happen sooner. I looked at the Rizoma's but really liked how the Ducati performance ones looked and ended up with those. Anyway, its all installed and looks, I must say so myself, pretty good.
So what I got in the the fender kit-
- a plastic undertail
- short lock cable
- led number plate light
- European licence plate holder (metal)
- some hardware and brackets for signals
- NO instructions
With the LED signals
- Two signals
- wires with resistors
- plastic adapter to center it in the stock hole
- hardware
- instructions - YAY!... but mostly in Italian.
Lessons learned:
- DX and SX in Italian stand for right and left
- Red wires don't always connect with red wires, black wires don't always connect with black wires. (For the LED lights)
- Metal work will be required
- Don't expect any instructions.
- Wire harnesses SUCK!
- Short lock cables SUCK even more.
Some additional things I have received questions on and some high level instructions.
1: Take off the seat (duh!)
2: Remove 2 bolts in the tray which holds the toolkit
3: Remove the two bolts that hold the servo unit; disconnect the servo harness; move out of the way; Also disconnect the light harness.
4: Remove 4 bolts that hold the metal section on the top (tip: the bolts probably are marked from the factory (the yellow marker). Place or mark them to make sure that you put them back in the slot they came out from; that way you can align the lines back, especially if you don't have a torque wrench.
5: Remove the bolts with the rubber housing: you have to hold the bolts underneath while unscrewing the top
6: You can now remove the entire tail section.
7: With the tail section removed,
i. Undo the lock assembly (loosen the plastic nut with pliers, once it's loose, its easy to screw off.
ii. Brake light (you'll need a torx driver for this (think it was #20))
iii. Take off the signals, wires should be marked dx and sx, see above for what they mean
Assembling the DP tail kit:
1: Cut the Euro frame. If you cut the legs right below the two middle bolts you'll be good to go.
2: Install the LED plate light/ brake light; fairly straightforward
3: Install the lock (reverse of how you took it off)
4: Install signals; you will not use the stock bolts. This is where the right angle brackets go. One side acts as a spacer for the signal, the other side aligns with the hole where one of the bolts with rubber top goes. This supports the signal and makes them secure, otherwise the plastic is super thin there. You will use the bolts that came with the kit.
5: Lock cable: this is a pain the DP replacement lock cable is super short, so install it while you have everything open. When putting the section back on the bike, you will need some help to hold it there while you screw in the lock to the metal plate.
6: Put everything back together in reverse. Remember to thread the light cable and the servo through the metal plate before screwing everything together
7: Also make sure that there are no wires obstructing the servo; it could screw up your throttle response in neutral.
So here are some pics.
The hardware:
Tail kit

Signals.

Two tails together

The LED and the signal

The full chop

Also as I was installing the fender kit, I realize that the stock signals will not fit on the short tail given the fact that I installed the passenger bars a few weeks ago. So this meant going and getting new smaller signals - I was going to change those out anyway, but this just made it happen sooner. I looked at the Rizoma's but really liked how the Ducati performance ones looked and ended up with those. Anyway, its all installed and looks, I must say so myself, pretty good.
So what I got in the the fender kit-
- a plastic undertail
- short lock cable
- led number plate light
- European licence plate holder (metal)
- some hardware and brackets for signals
- NO instructions
With the LED signals
- Two signals
- wires with resistors
- plastic adapter to center it in the stock hole
- hardware
- instructions - YAY!... but mostly in Italian.
Lessons learned:
- DX and SX in Italian stand for right and left
- Red wires don't always connect with red wires, black wires don't always connect with black wires. (For the LED lights)
- Metal work will be required
- Don't expect any instructions.
- Wire harnesses SUCK!
- Short lock cables SUCK even more.
Some additional things I have received questions on and some high level instructions.
1: Take off the seat (duh!)
2: Remove 2 bolts in the tray which holds the toolkit
3: Remove the two bolts that hold the servo unit; disconnect the servo harness; move out of the way; Also disconnect the light harness.
4: Remove 4 bolts that hold the metal section on the top (tip: the bolts probably are marked from the factory (the yellow marker). Place or mark them to make sure that you put them back in the slot they came out from; that way you can align the lines back, especially if you don't have a torque wrench.
5: Remove the bolts with the rubber housing: you have to hold the bolts underneath while unscrewing the top
6: You can now remove the entire tail section.
7: With the tail section removed,
i. Undo the lock assembly (loosen the plastic nut with pliers, once it's loose, its easy to screw off.
ii. Brake light (you'll need a torx driver for this (think it was #20))
iii. Take off the signals, wires should be marked dx and sx, see above for what they mean
Assembling the DP tail kit:
1: Cut the Euro frame. If you cut the legs right below the two middle bolts you'll be good to go.
2: Install the LED plate light/ brake light; fairly straightforward
3: Install the lock (reverse of how you took it off)
4: Install signals; you will not use the stock bolts. This is where the right angle brackets go. One side acts as a spacer for the signal, the other side aligns with the hole where one of the bolts with rubber top goes. This supports the signal and makes them secure, otherwise the plastic is super thin there. You will use the bolts that came with the kit.
5: Lock cable: this is a pain the DP replacement lock cable is super short, so install it while you have everything open. When putting the section back on the bike, you will need some help to hold it there while you screw in the lock to the metal plate.
6: Put everything back together in reverse. Remember to thread the light cable and the servo through the metal plate before screwing everything together
7: Also make sure that there are no wires obstructing the servo; it could screw up your throttle response in neutral.
So here are some pics.
The hardware:
Tail kit

Signals.

Two tails together

The LED and the signal

The full chop

Friday, September 3, 2010
Grab bars....
Got the rear passenger grab bars today (still waiting for the fender kit), and just so everyone know, they did not come with any hardware or instructions. I didn't realize that they are and stick out a bit from the rear but are designed well and do not detract from the lines of the bike. Lets see if these grow on me otherwise I may have to take them off.
The install was fairly simple. #5 hex key to take off the two bolts that connect the rear exhaust to the frame, take out the spacers and fit the bars in, using the same hardware. You then need on M6 bolt (not included) to connect the last part of the bar to the frame and that is it.
Some pics:
The bar and the bolt that does not come with it

The two bolts that need to come out.

Installed


With the seat on


The install was fairly simple. #5 hex key to take off the two bolts that connect the rear exhaust to the frame, take out the spacers and fit the bars in, using the same hardware. You then need on M6 bolt (not included) to connect the last part of the bar to the frame and that is it.
Some pics:
The bar and the bolt that does not come with it

The two bolts that need to come out.

Installed


With the seat on


Thursday, August 12, 2010
Painted calipers
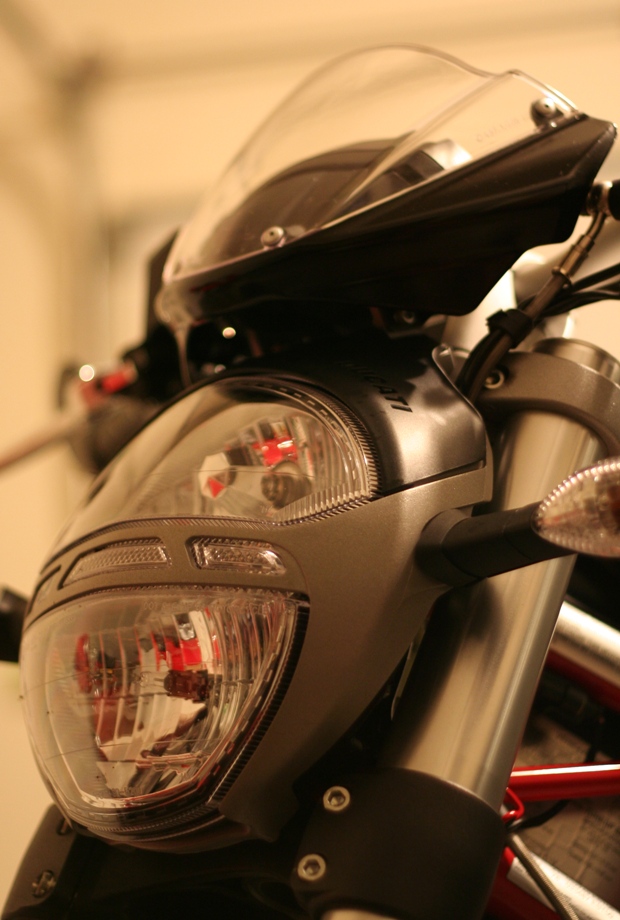
Similar to the 848 the 796 does not come with the painted Brembo calipers, so took out the touch up paint for my red vespa and here you go.
Before:

After:

And some more details:
Tank closeup

Headlight

Before:

After:

And some more details:
Tank closeup

Headlight
Saturday, June 26, 2010
Test ride- Duc Monster 796

The premier of the Ducati Monster 796 was yesterday at Motocorsa in Portland with about 15-20 people there, nevertheless, folks were huddled around the bike so did not get a chance to look at it.
So went to the dealership today and just my luck, the bike was there and they were willing to let me take it for a test ride - no complaining that it takes them 30 mins to prep the bike, etc. like I have heard salespeople say in the past. Took about a 25 min ride on the back roads. First impressions - very different power delivery vs. the 848 (ie.not a whole lot of power) but enough and very manageable. Bike was happiest around the 5-6k rpm mark and seemed to sputter at lower rpms. Power delivery was smooth, very linear, but that is what I was expecting from a Ducati L-Twin.
Very pleasantly surprised with the handling and ergonomics. Coming from a Monster S2R and a 848, the bike was amazingly comfortable with more of an upright position. Felt super light in the corners again more like a dirt bike or the Hyper. All of this helped me get comfortable on it really fast.
What I did not like as much was the clutch. It was super light, but hardly any friction zone there. It was either off or on. May be in need of adjustment, but that was the one thing I needed to get used to.
Fit/finish of the bike was what you would expect from Ducati - with the single sided swingarm, the 5 spoke wheels, it looks the part. Things that you would absolutely want to change as in any Monster, the mirrors. The signals seem unusually big, think aftermarket Rizomas would look cool on it. Tail section needs to be cleaned up. The stock exhaust has a good sound, but it as well as the heat shields did get get hot - so if nothing else, carbon fiber heat shields may be a good addition. Other than that not much to change here.
Overall, a really fun bike to ride
Tuesday, June 22, 2010
Waiting...
Ordered a Monster 796 on April 22nd, it was expected first week of May, but still not here. National launch on June 25 and dealer says that it will be here early July. Lets see.....
Color: don't know. I'm being surprised.
The red vespa is waiting for some company in the garage.
Color: don't know. I'm being surprised.
The red vespa is waiting for some company in the garage.
Subscribe to:
Posts (Atom)